Sunday, September 30, 2012
More pictures of past projects
These are pictures of past projects some are a little better than the ones I have posted already. I really need to get a new camera. I apologize for the bad pictures. I think my phone would take better pictures than my camera which is sad.
I hope you enjoy them and also to inspire someone to get going on their own projects.
Thanks
Mario
Monday, September 24, 2012
My search is over.
I'm in the process of taking pictures of the furniture pieces that i have built over the years. This is going to take me some time to get ready. I don't want you all to think that I have abandoned you...... Hahaha
I know that everyone is busy with their own thing . To be honest I'm just starting out with this Blog thing. ( Like you couldn't tell.)
Everybody is so very nice here. My Page has changed so many times I'm like a kid at Christmas.
My goal is to post my builds so my students and members of my Blog can enjoy . The students get to see some progress and you get to see some of my techniques ,and share some of my ideas.
I have seen some fantastic work in miniature from all of you . This is what I've been looking for for a long time. ( now the mushy part ) sometimes I reach a sticking point and get discouraged. kinda loose motivation Life , kids ,and work get in the way. so I search the web for some motivation .
My search is over Just to let Ya'll know. Thank you very much for being so kind to me. Now i can get back to picture taking and furniture building .
Thanks for your time
Mario.
Thursday, September 20, 2012
Past classes number two....Amish Armoire.


 |
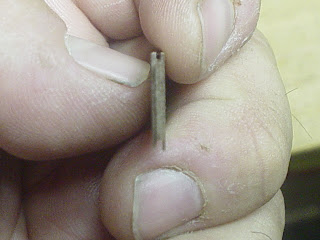
| This piece I started with the knobs |


 |
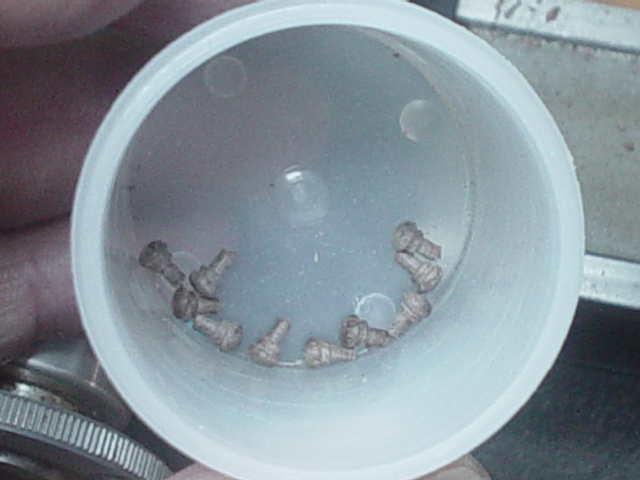
| These are the pegs that hold the drawers close. |

 |
| The sides with rabbit and dado joints machined |

 |
| Carcass is starting to come together for the prototype. |

 |
| The pieces for the bottom of the Armoire |


 |
| Case pieces fitted. |

 |
| And glued up |

 |
| The door pieces cut machined and fitted. |
 |
| tongue and groove 1/16th material |


 |
| Door fitted to the opening. |

 |
| A peek at the rack in the top of the Armoire. |


 |
| Top being glued on. |

 |
| My fancy glue clamps these work like a charm. |
 |
| Carcass with all the trim except the knob for the door. |


 |
| A look at the locking system for the drawers. |


Past classes... Shakers bake room table 2006.


This is the process I go through building for my classes.
 |
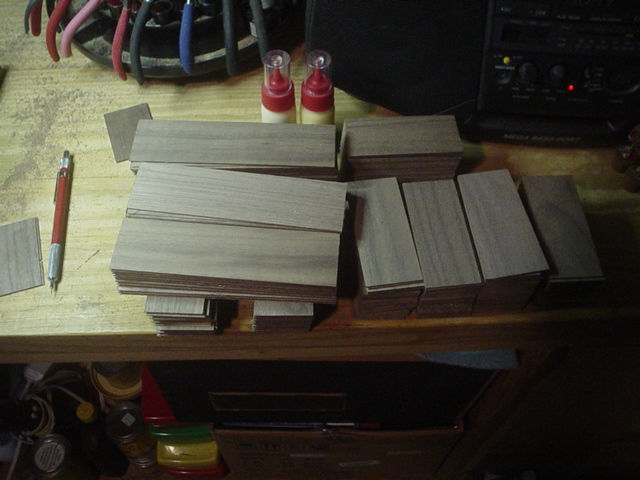
| I Start off with sheet stock . |
 |
| Cut into strips. |
 |
| And into bits... the side pieces of the table. |
 |
| These will get glued into sets. |
 |
| A couple of sets glued together. |
 |
| Glued up |
 |
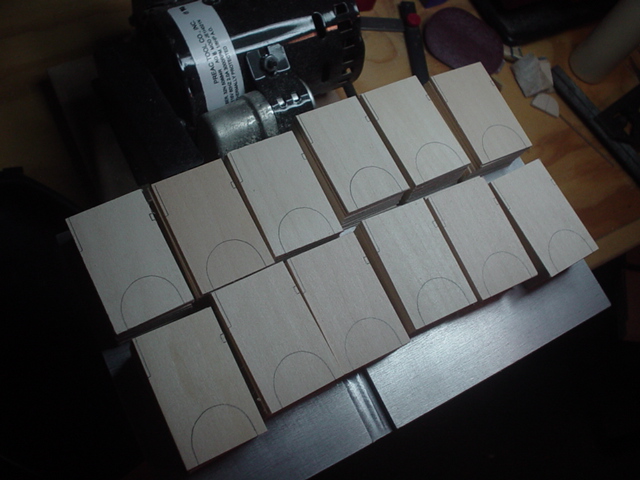
| Measured and marked for the cuts. |
 |
| These are the sides of the prototype |
 |
All the sides are glued up and marked for the cuts.
I have a few extra made just in case some get messed up.
|
 |
Assembles Note: where the glue up for the sets are in the waste
so when i finish the outer joints I can cut them free.
|
 |
 |
| These two pics ....are cutting out the joint for the back of the piece |

 |
| All outer joints cut . |
 |
| The waste removed and i can separate the sides and pair them up. |
 |
These are all the parts for all the Shaker tables.
I have five per tray and will separate them into kits for the class.
|
 |
100 of these later ( one at a time )
I wish I could find out a way to do these all at once without braking the bank.
|
 |
| The back with a shot of the internals. |


 |
| Installed the outer brackets |

 |
| And the class begins. |


 |
| Pictures of some of my students. |
 |
The finished piece it was a good day.
My wife and I enjoyed every minute of it .
Thank you for your time....
Mario
|
Subscribe to:
Posts (Atom)